
Cute hydrangea
For a few weeks every June, hydrangeas take over gardens and doorways, and this little origami version lets you keep one around all year. It is folded from a single square of paper - actually from just a quarter of one - yet the finished blossom looks surprisingly full, with four softly rounded petals gathered into a round cluster.
Do not let the pretty result scare you off: the folding is gentle and repetitive, a pleasant thing to sit down with on a rainy day. The only step that asks for a little finesse is curling that last petal, which is exactly what a straw or a ballpoint pen was invented for. Pair your hydrangea with a folded lily and a stem, and you have a tiny summer bouquet.
It has just occurred to me that hydrangea season is here, and with it the feeling that early summer has quietly arrived. I was born in June, so I look forward to the hydrangeas every single year.
If you grow hydrangeas, you may have noticed that their leaves begin to push out very early - as soon as the weather warms at the start of spring, right around the time the cherry blossoms are in full bloom. Everyone is busy looking up at the pink clouds overhead, so the small patches of green appearing low among the bare winter branches are easy to miss. But that is exactly the moment I know spring has truly come.
This time, I want to show you how to fold a cute hydrangea blossom out of a single square of origami paper.
How to fold an origami hydrangea
There are quite a few ways to fold an origami hydrangea, and each method has its own character, so let me introduce a couple of them.
Last year I folded the simplest kind to decorate the children’s gymnastics class I run. That version asks you to cut your paper into quarters and fold a good number of blossoms, which sounds tedious but is actually the easiest method there is. Add some shading to the flower parts, fold two sheets into eight blossoms, and you already have a cheerful decoration - a project easy enough to make together with small children.
I will show the finished result in the photos here, so let me go into detail.
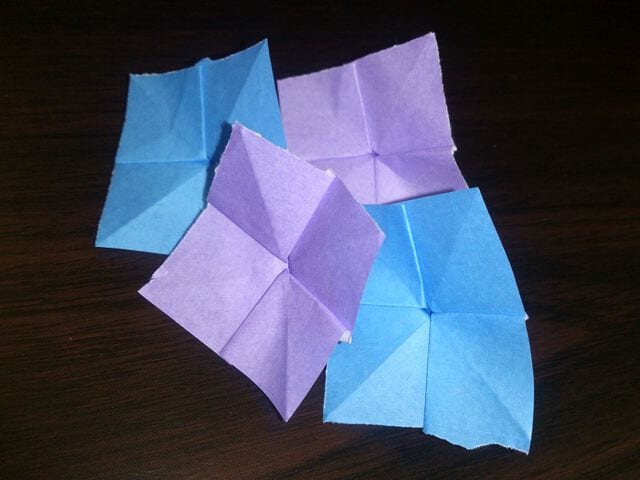
At first glance this model may look a little demanding - as you can see in the video, making all six blossoms like this takes a fair amount of time. It is too difficult to fold together with kindergarteners, and honestly, a clumsy dad might not manage it either. Rather than something to fold and play with, it feels more like a piece to decorate a shop or a room at home.
Last year I folded the simple hydrangea and found it a little plain, while the elaborate ones wore me out. I was looking for something in between when I came across this model: a little more work than the simple version, but not exhausting - and above all, very cute. So this year I decided to fold this one.
What makes this hydrangea charming is its gently curved petals. If you want to decorate a shop, this is the version I would pick. At home, though, you may want to share the work between parent and child: like an origami lily, curling round petals is surprisingly fiddly. In the video the petals seem to round themselves, but I could not get the curve to come out so easily, so I tried a small trick. I folded it right away and it worked, so here is how I did it.
First, prepare one sheet of origami paper.

Cut it into four equal pieces and take one quarter.
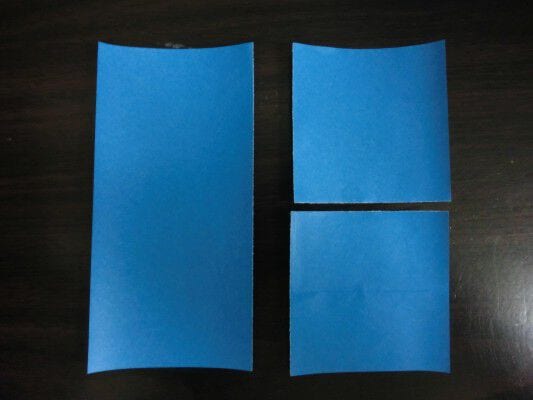
First fold the small square in half into a rectangle.

Fold it in half once more.
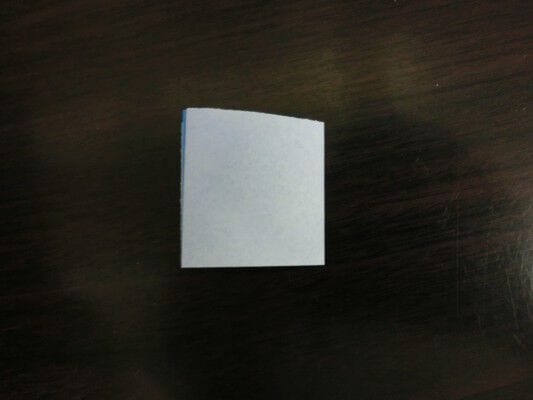
Unfold it completely.
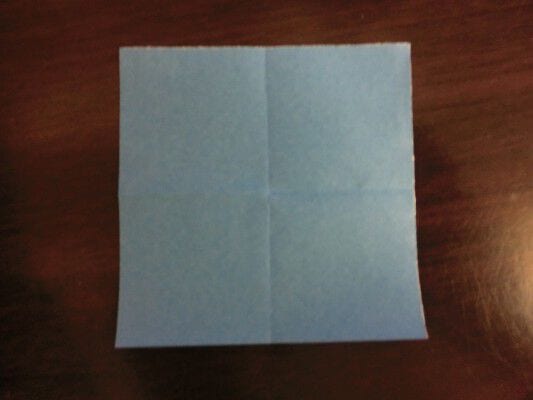
Now fold it into a triangle.

Push the existing creases inward so the paper collapses into a smaller layered triangle.
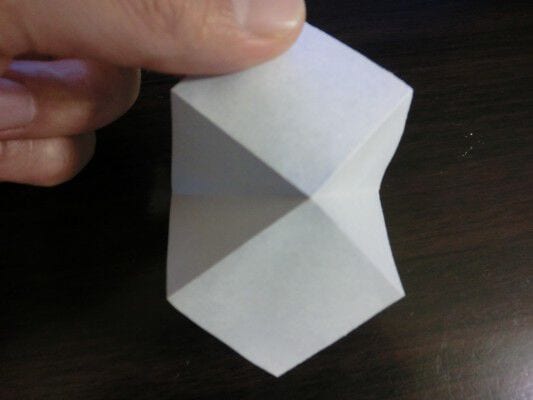
It should look like this.
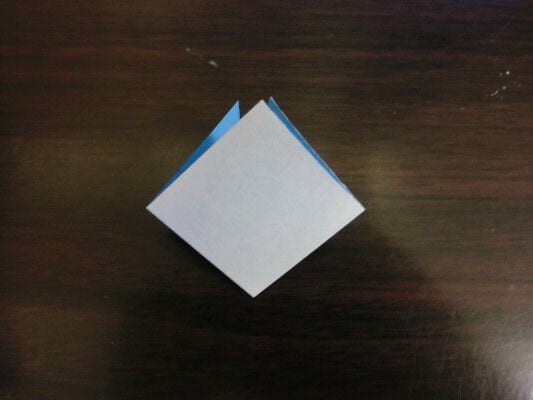
Make a crease at each of the four corners.
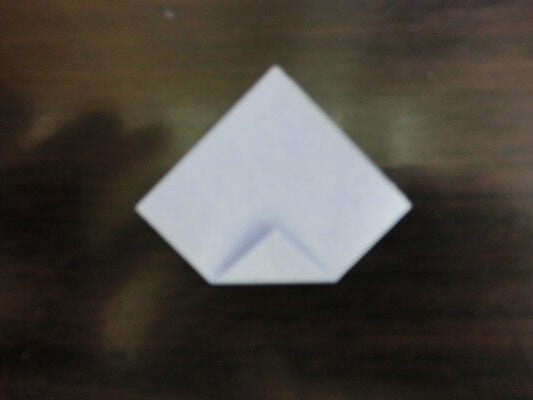
Fold the creases inward so the corners are tucked inside.
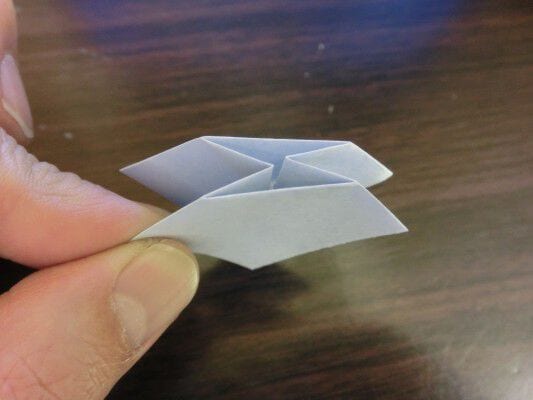
Folded this way, the layers stack up neatly like this.
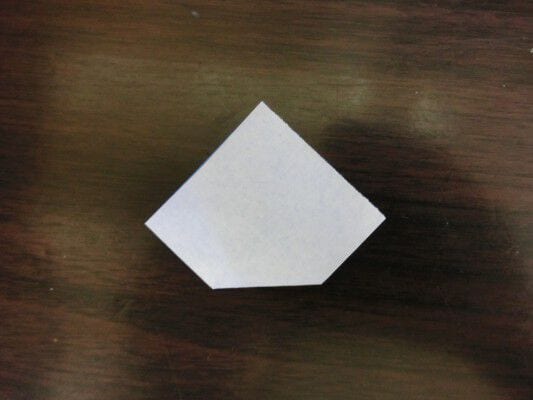
Fold the lower-left edge up so that it runs parallel to the side.
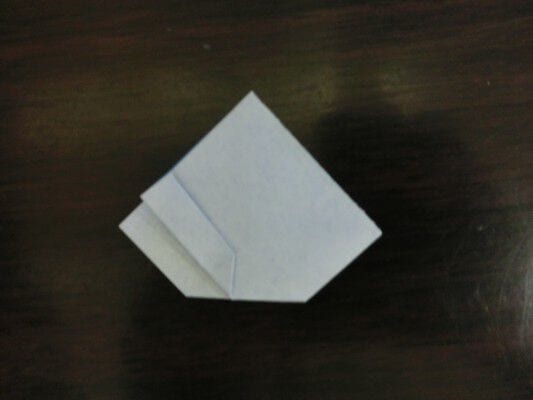
Flip one layer over from right to left.
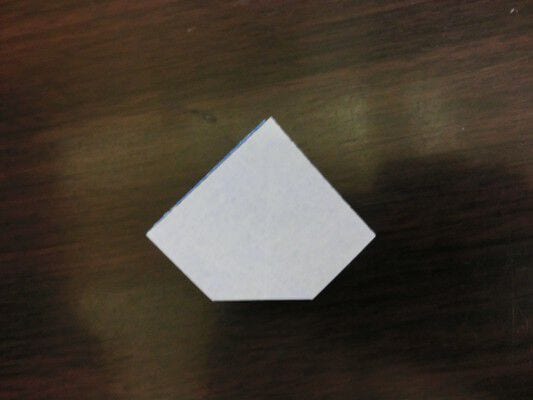
In the same way, fold the lower-left edge up parallel to the side.
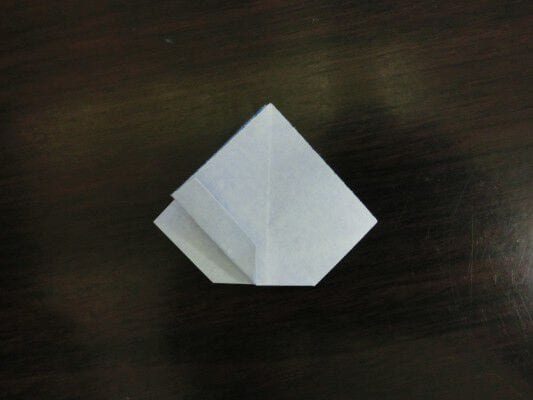
Flip that layer back to the left, then turn the whole piece over.
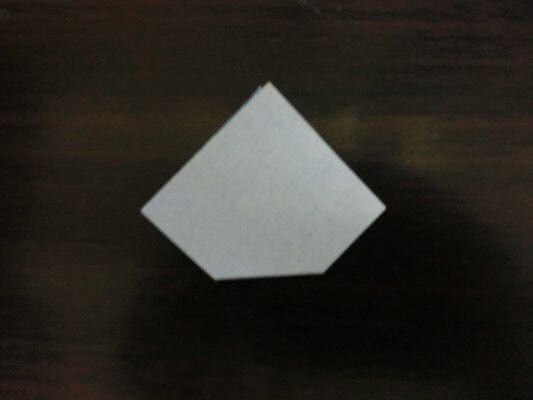
Again, fold the lower-left edge up parallel to the side.
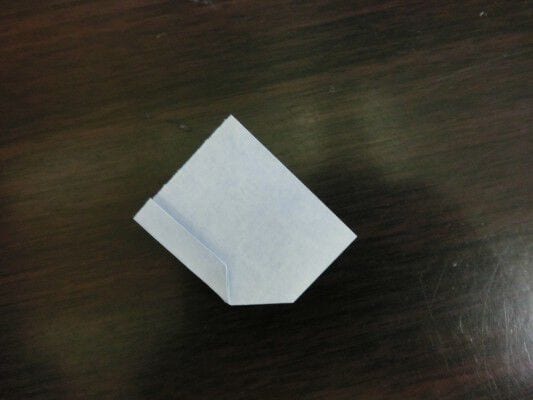
Do the same once more: flip a layer from right to left, fold its edge parallel to the side, then return it.
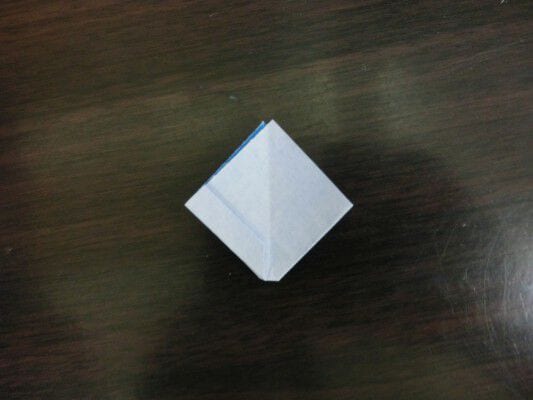
Open the folds, turn the piece over, and fold the four overlapping sections over to the other side.
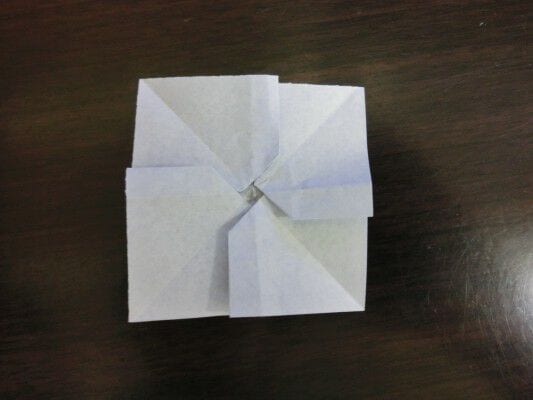
Gather the layers into a little table-like form.
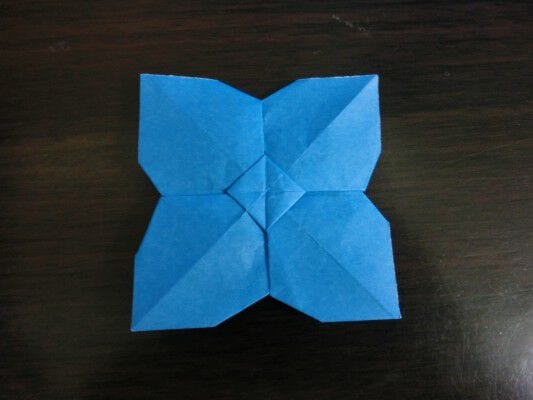
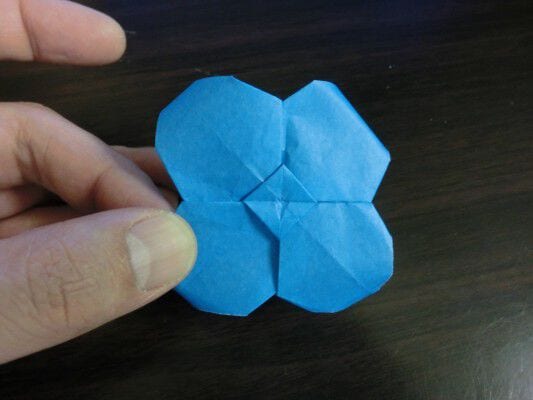
Only the very last petal needs to be rounded. This is much easier if you roll it around a straw, just as you would for an origami lily. I still cannot work out how the person in the video curls it so perfectly with bare hands - I thought I was being clever, but I was not (laughs). With a simple tool like a straw, even a child can manage this step.




