
Tato / Pochi bag
The tato is one of the oldest and most beloved folds in the Japanese origami tradition—a flat, star-like pouch that opens from the center to hide a letter, a few coins, or a tiny gift. Despite its intricate-looking final shape, it comes together from simple valley folds and a single clever sink, so don't let the pleats intimidate you. Follow the photos step by step and you'll have a charming little pochi bag in about twelve folds.
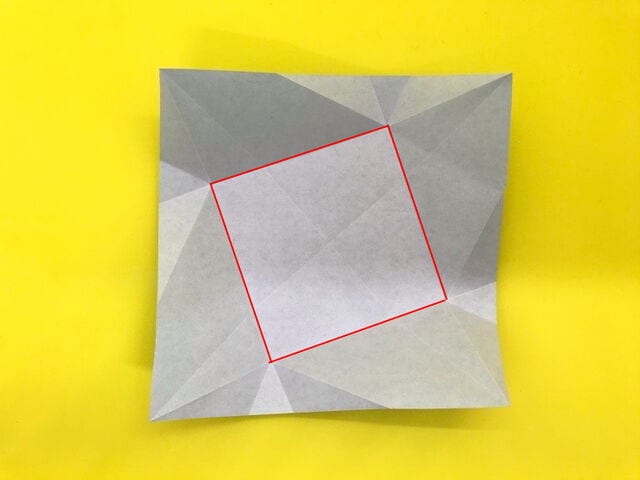
Things to prepare
1 sheet of standard origami paper (15 cm × 15 cm).
How to fold a tato
STEP 1.
Place the paper white-side up, then valley-fold along the dotted line to make a crease.
STEP 2.
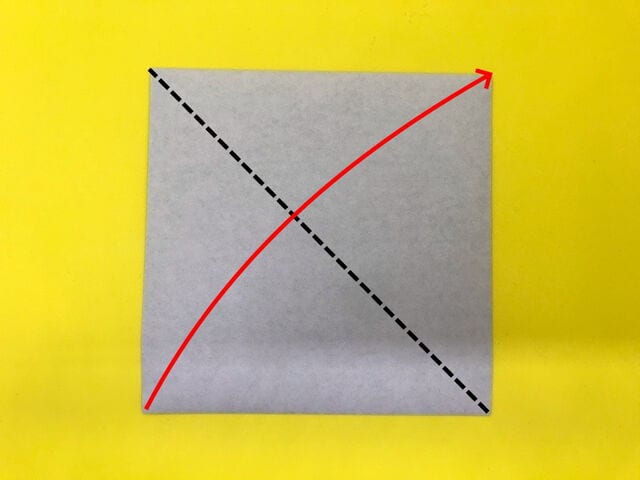
Valley-fold as shown to make a crease, then unfold.
STEP 3.
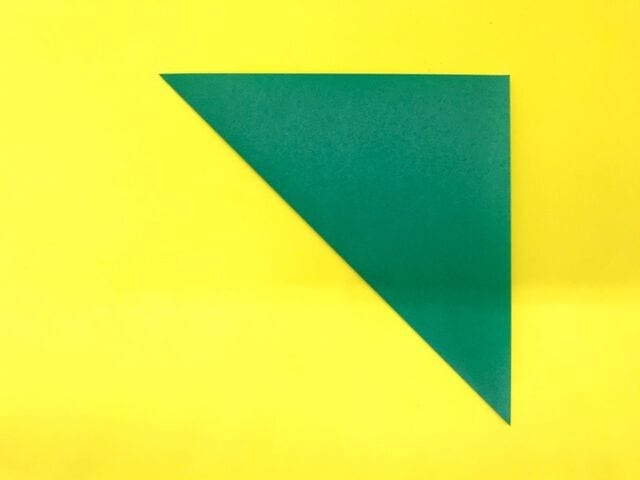
After unfolding, valley-fold along the dotted line to make a crease.
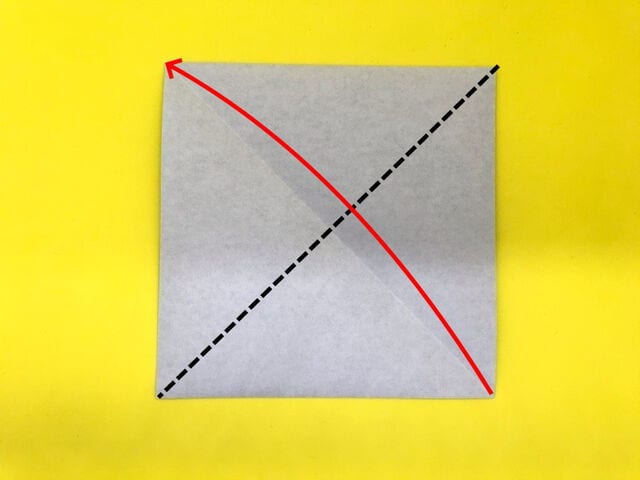
STEP 4.
Valley-fold as shown to make a crease, then unfold.
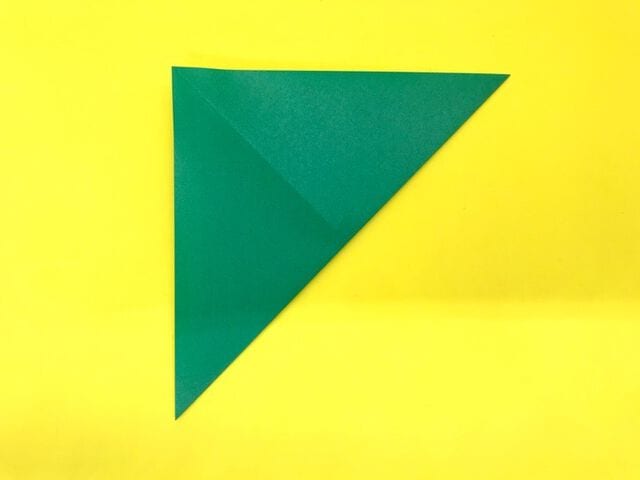
STEP 5.
Valley-fold along the dotted line so the paper follows the crease.
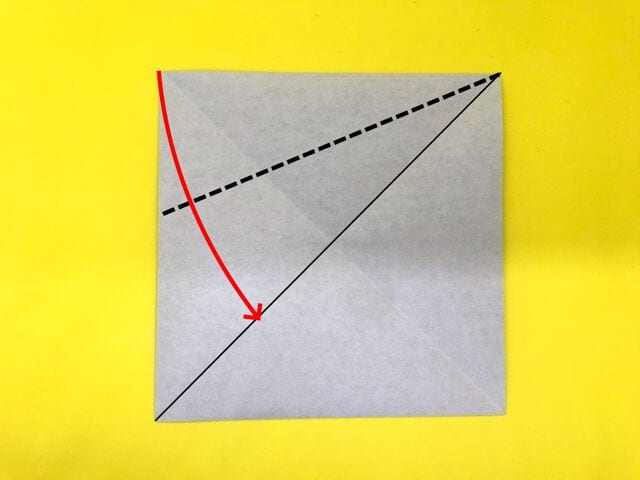
STEP 6.
Valley-fold along the dotted line so the paper follows the crease.
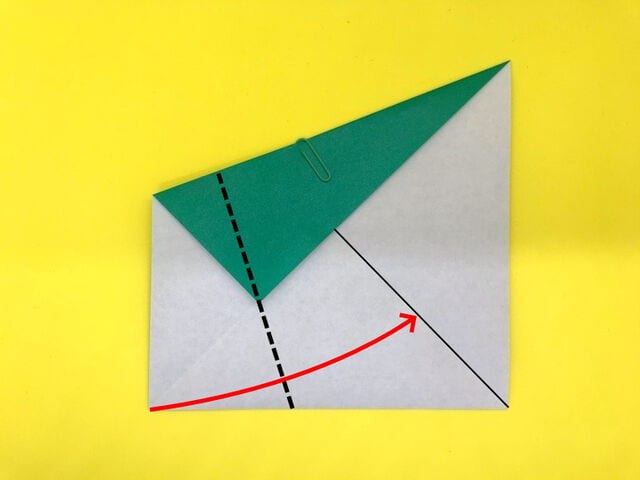
STEP 7.
Valley-fold along the dotted line so the paper follows the crease.
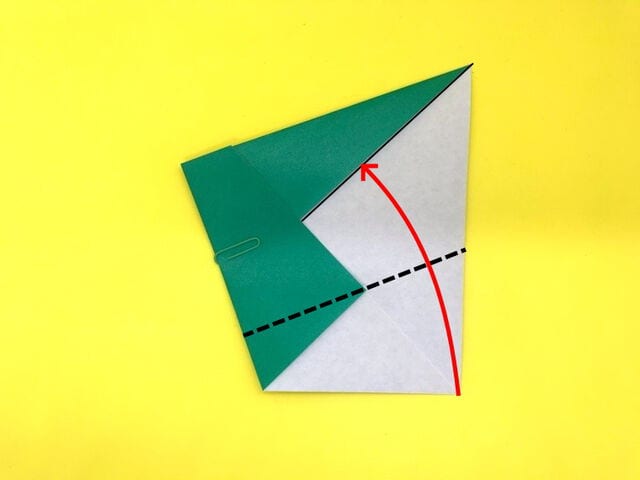
STEP 8.
Valley-fold along the dotted line to match the light-blue edge and make a crease.
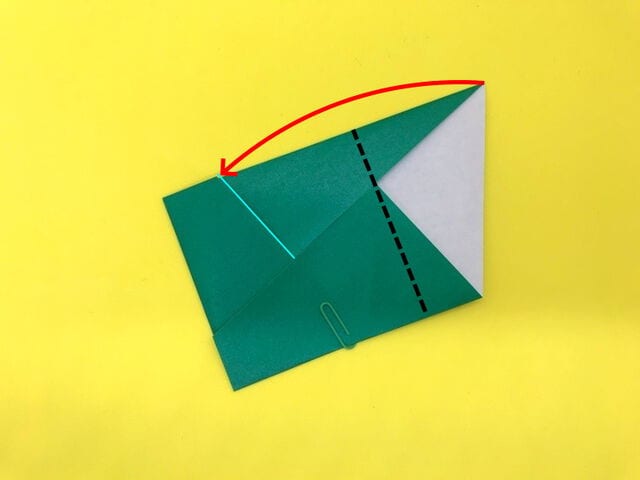
STEP 9.
Now open the sink-folded section.
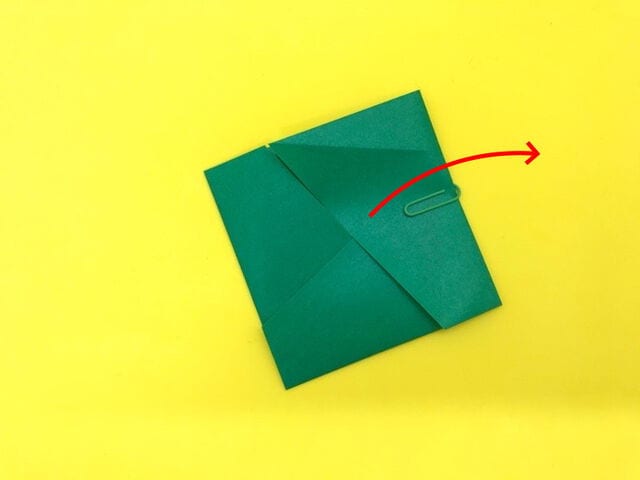
STEP 10.
Fold while tucking the flap underneath.
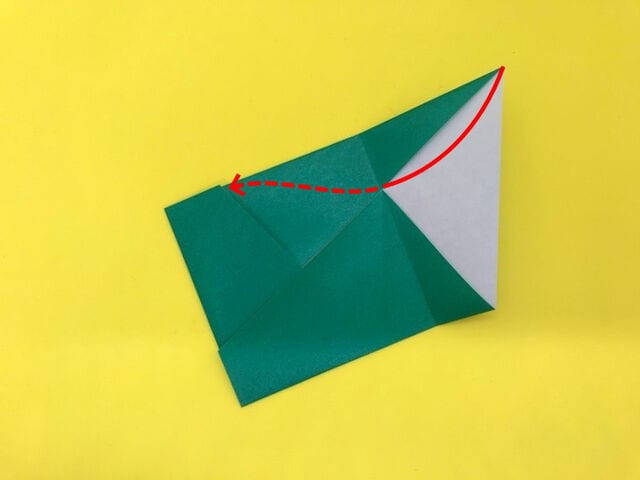
Valley-fold along the dotted line and insert it in the direction of the arrow.
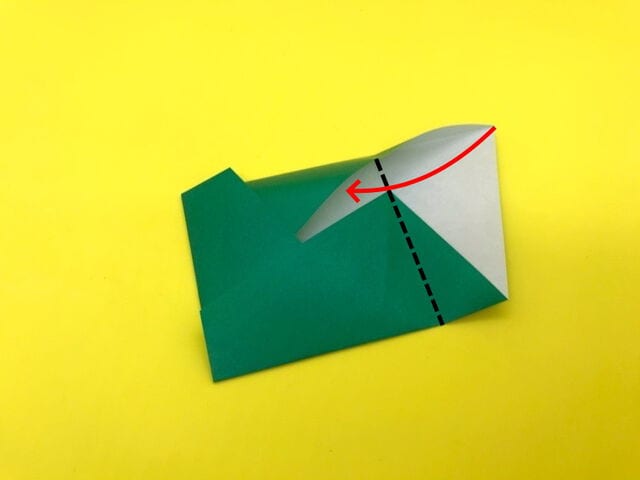
Keeping the valley fold at the dotted line, push it in further.
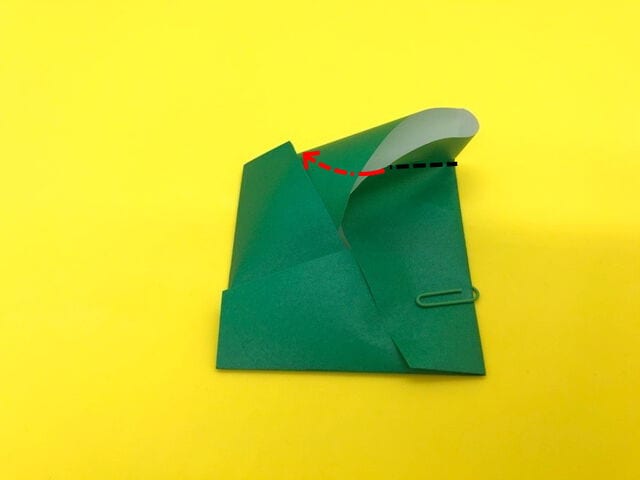
After inserting, valley-fold along the dotted line to close it up.
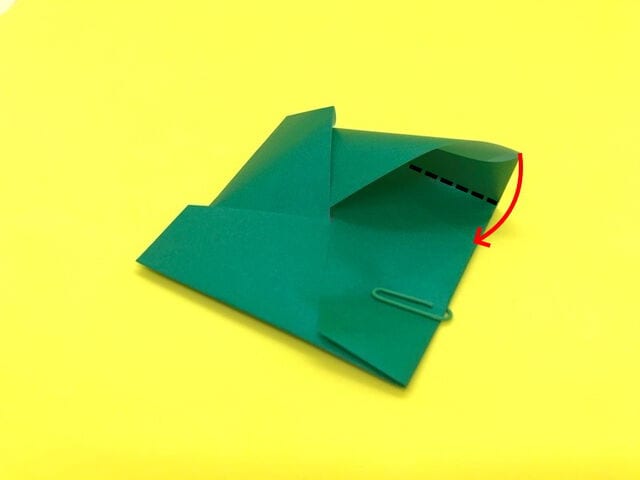
STEP 11.
Fold the front layer on each side along the dotted line.
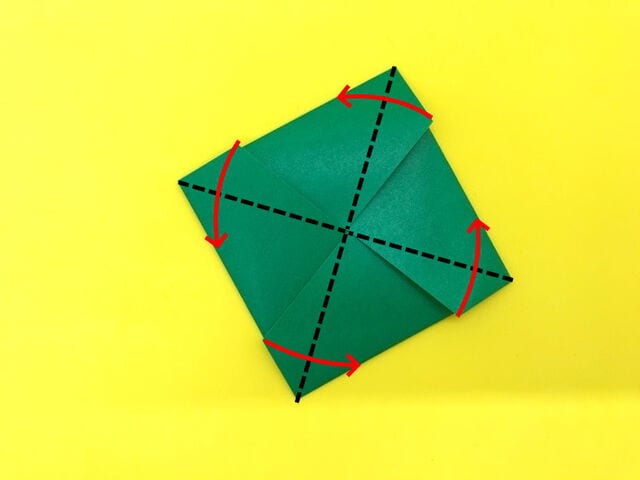
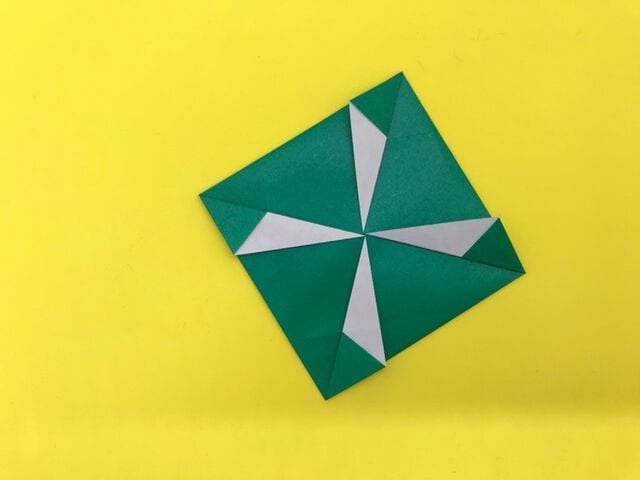
STEP 12.
This completes the tato (pochi bag)!
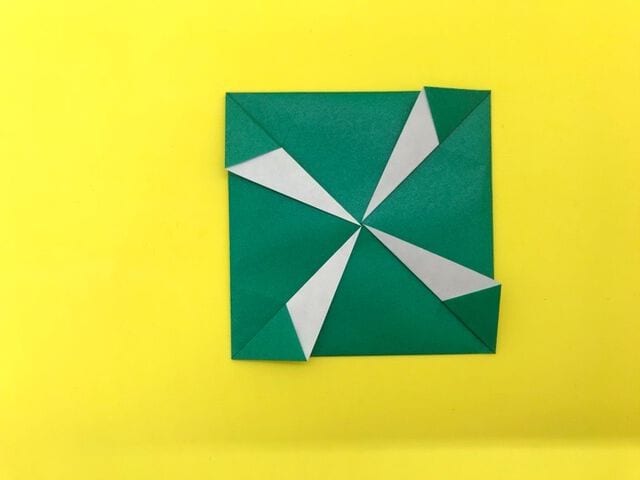
How to wrap it
Once the tato (pochi bag) is done, tuck a letter or some pocket money inside.
You can easily open it from the center.
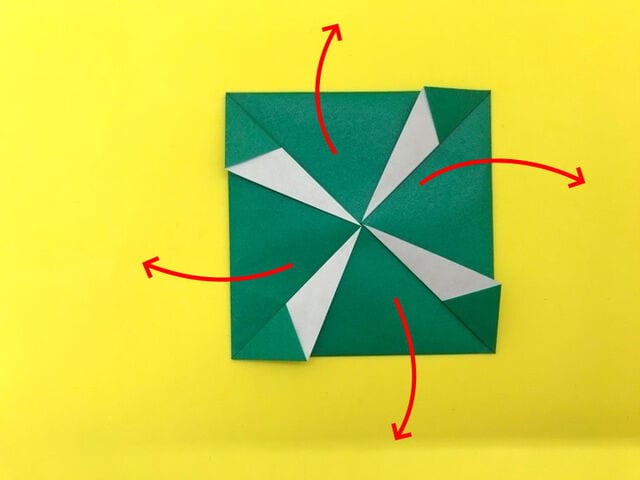
When you open it, place your item in the red-framed area, then fold and close it as before to wrap everything up.




